Printing holds a vitally important place in humanity's existence as it was the first method of mass communication and helped usher in the modern period of human history.
Its creation is credited to Johannes Gutenberg who first printed with moveable type in 1439.
Printing, in the years since, has changed dramatically and is now one of many forms of mass communication. However, whilst there are many choices available today, print remains an intrinsic part of society, and an important communication tool for marketing and the media.
While there are many new media which have appeared in the years since the advent of print, none have the longevity or tactile qualities of print. So many are transient. There for a moment and then gone again. When something is in print it is permanent. A lasting, indelible message that has more credibility than other media.
Putting together a printed document requires both skill in its creation and its production.
Printing of documents, unlike so many other mass produced items, is the production of a product which is specific to the person or company it is being produced for and cannot be used by anyone else, anywhere else.
Printed documents can come in almost any shape, size and specification. From a single page to hundreds of pages long. And print technology today means you can get items printed at almost any size. From tiny stickers, to entire building wraps.
But, the vast majority of documents produced are smaller in size. These include: brochures, magazines, posters, leaflets, point of sale, signage, direct mail, flyers, stickers, booklets, pamphlets, packaging, training manuals, guide books, catalogues, books, invitations, folders, inserts, calendars, newsletters, interior and exterior graphics, handouts and exhibition stands.
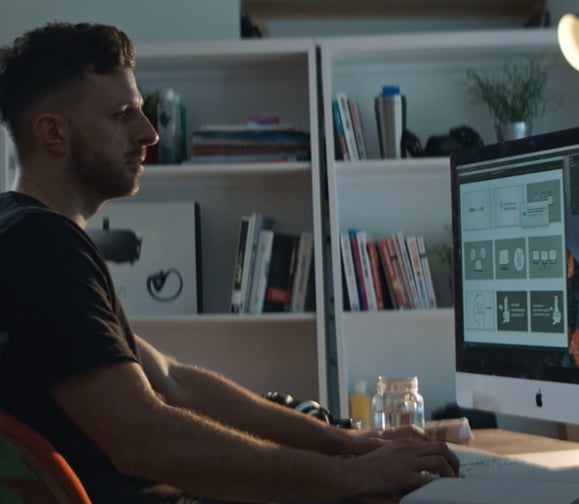
When producing a printed document it must first be designed and artwork put together for it to be printed from.
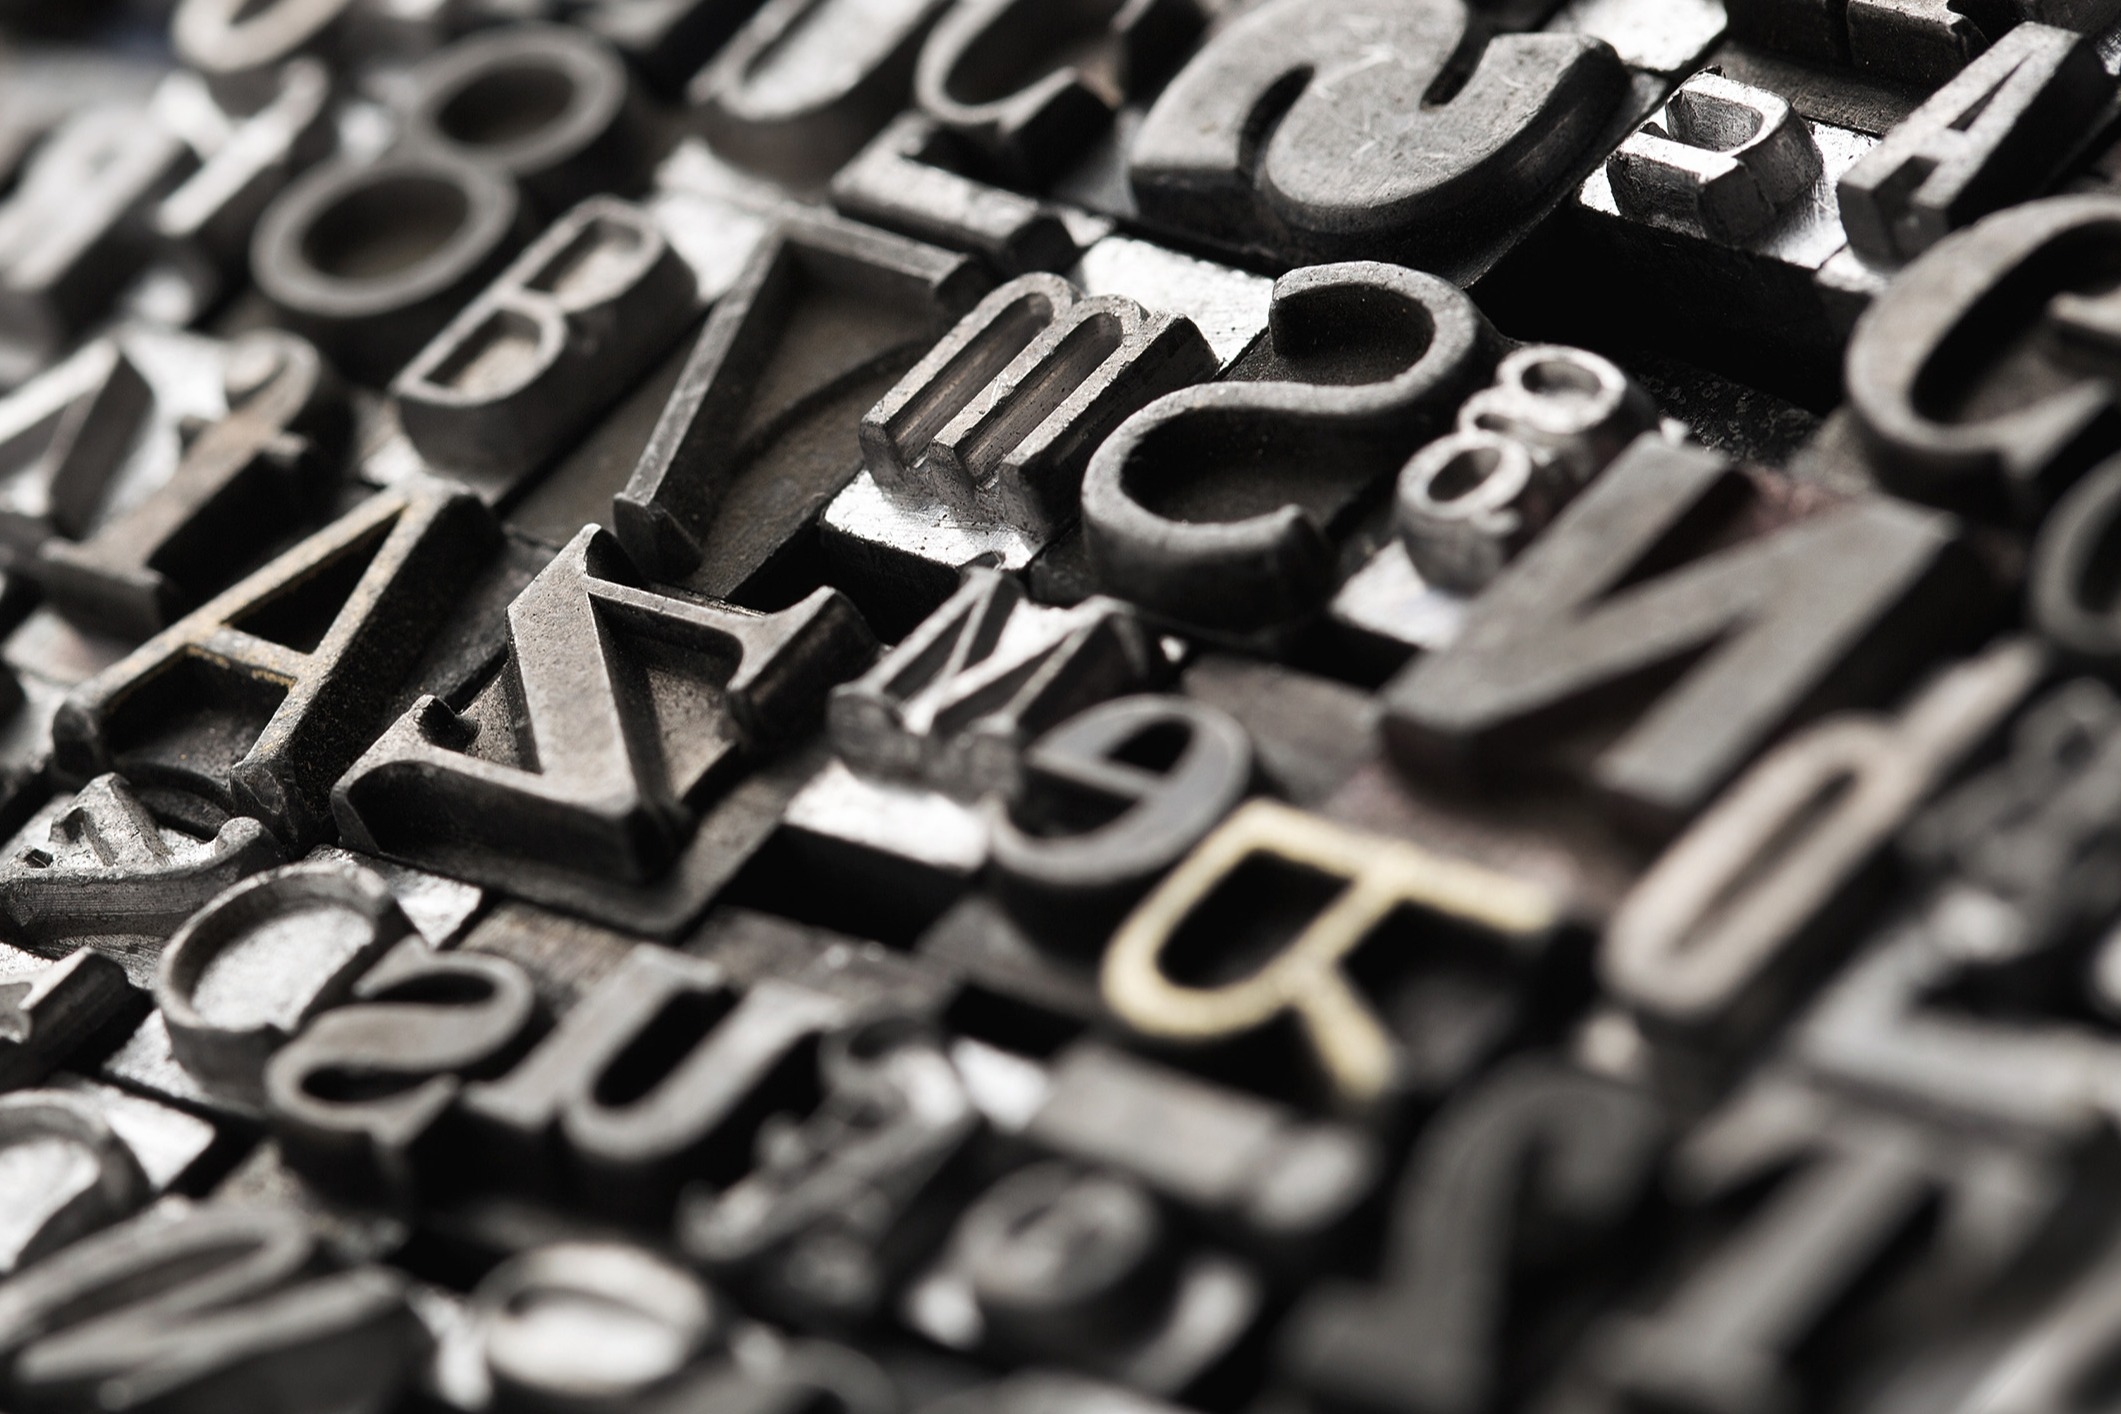
The design of items is generally carried out by a designer. The designer will consider font usage, image types, page layout, colours as well as document format in order that it satisfies the requirements for the document and adheres to brand guidelines.
As part of their role, a designer should consider the document's usage and therefore the paper, finishes and printing techniques required to produce the item to fulfil the requirements. For example if a document is going to be handled a lot, perhaps it needs the added protection lamination provides. Or if an item is for use outside are the inks and material weather and light proof. The early liaison with a printing company will ensure their finished item looks, feels and works as hoped once produced and printed.
Once the design is complete, proofed and approved by the client, artwork will be produced to be sent to the print company for the print job to be produced from. This artwork will be saved in the appropriate file format and include all fonts, images and software files needed to print the job from. Today, the file will most often take the form of a PDF document, but could also be supplied as an Indesign file, Illustrator file or Photoshop file, all of which are part of Adobe's Creative Suite of products.
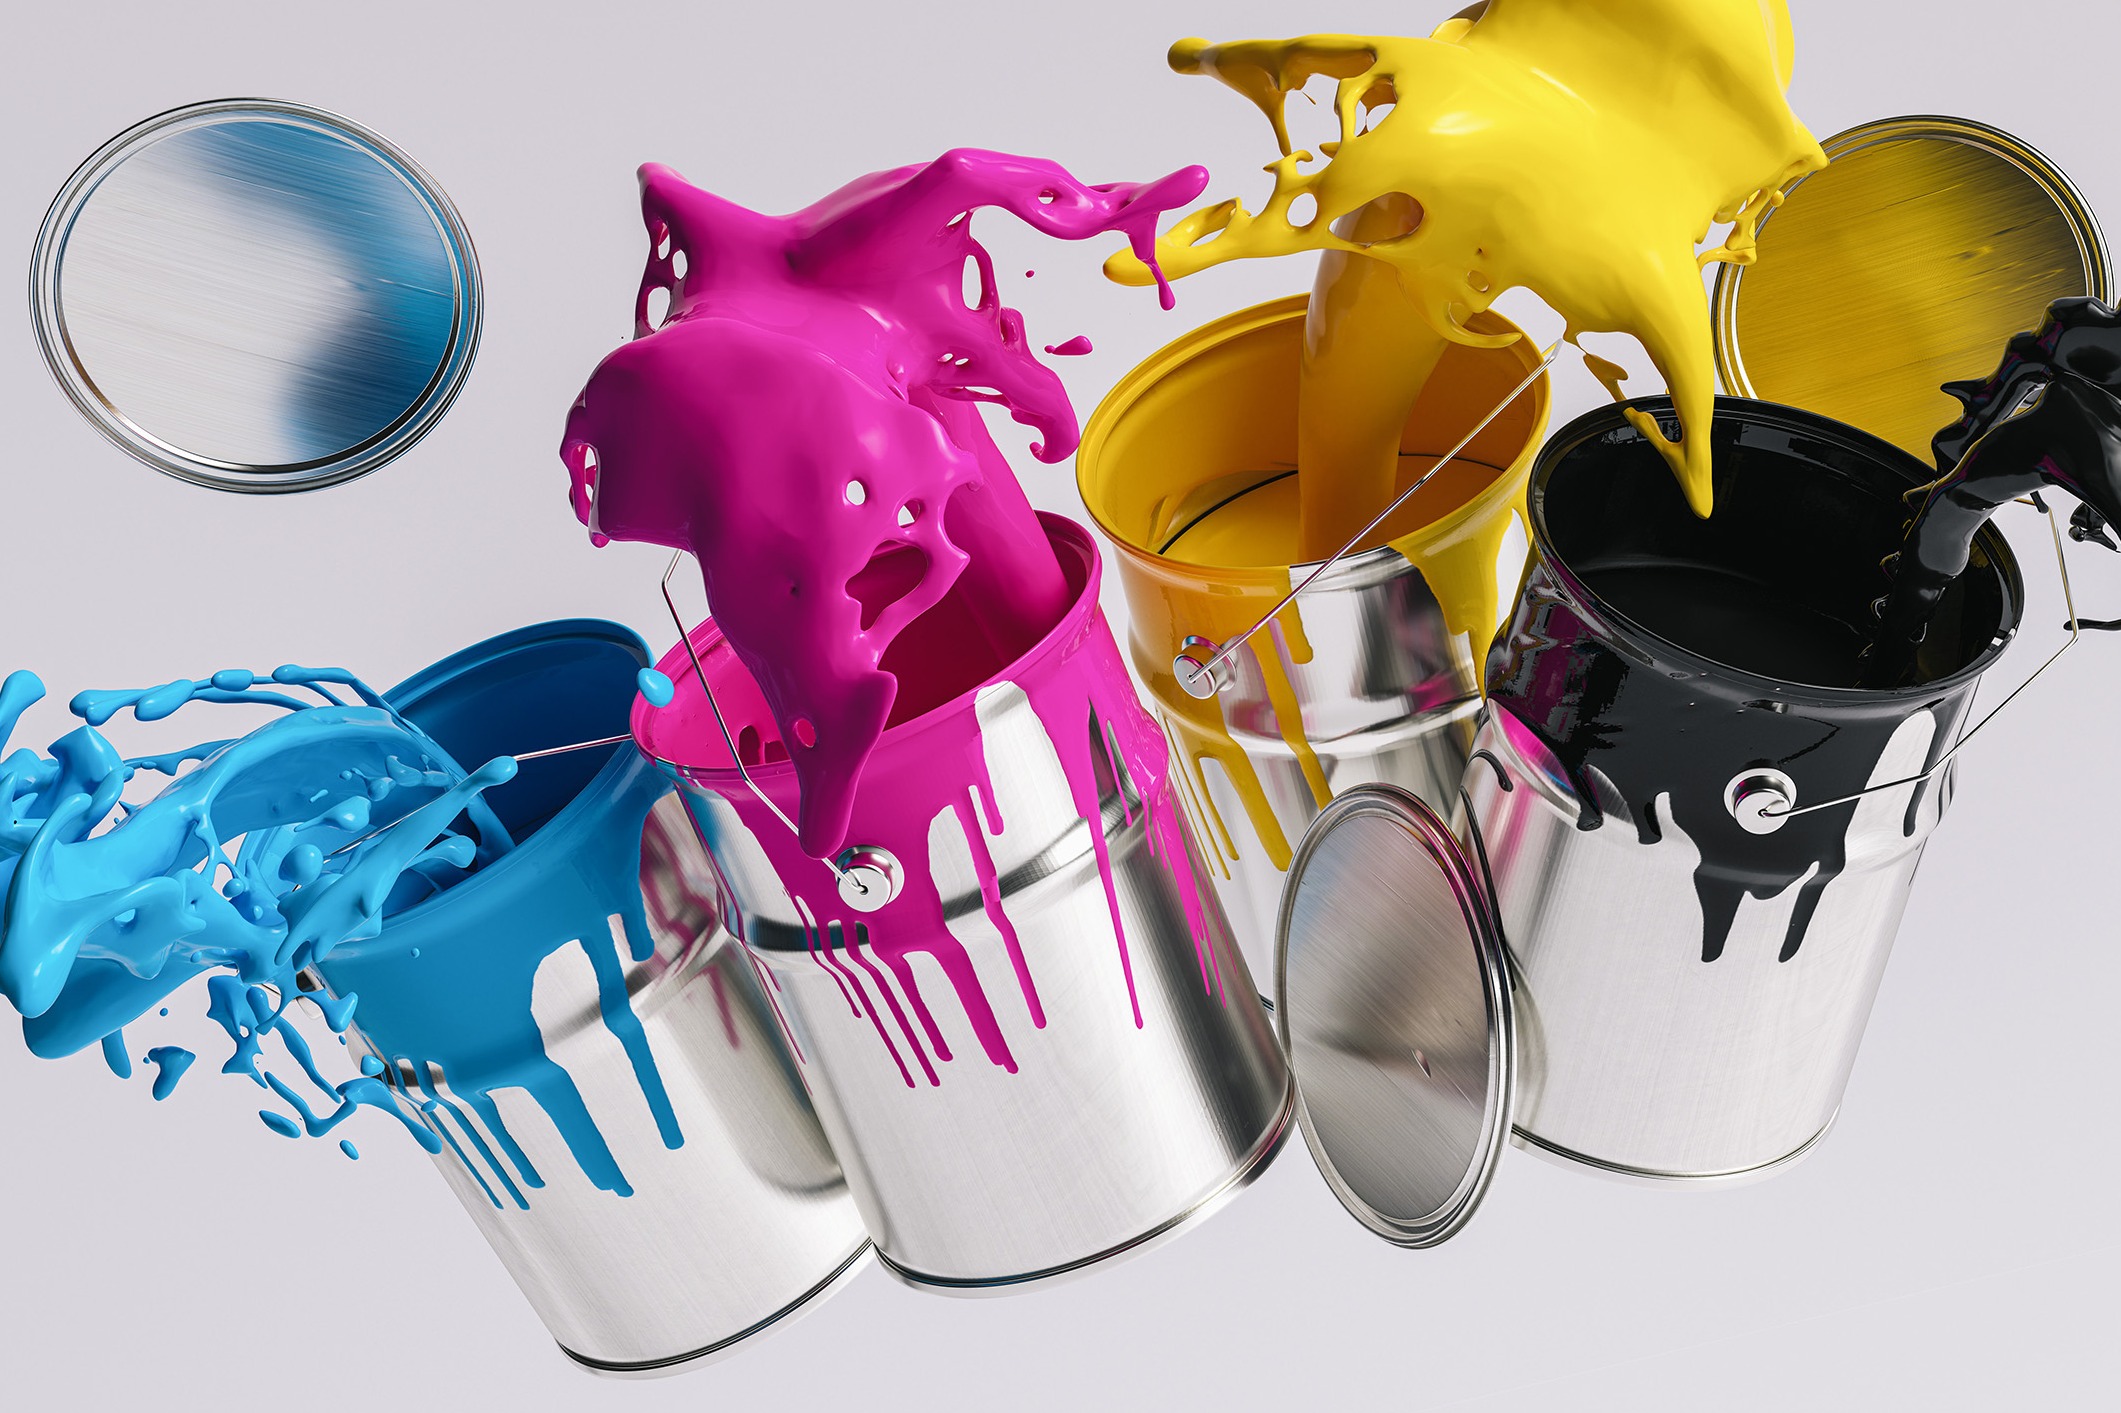
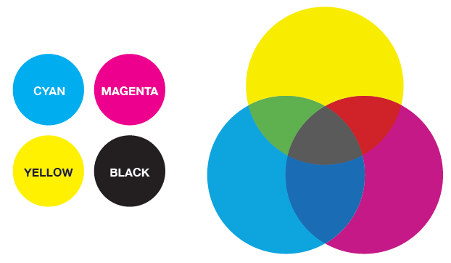 A full colour printed document should be saved for four colour process printing and therefore all colours and images in it saved as CMYK (Cyan, Magenta, Yellow and Black). Monitor screens use red, green and blue (RGB) light to display images and cameras use these colours when taking images by default, therefore files should be saved from RGB to CMYK.
If there are any spot colours - colours which are to be printed using a special ink mix or Pantone Colour - these should be indicated within the file and on any hard copy mock up supplied. Pantone colours are used when a particular colour is not accurately replicable out of four colour process. Often these will be particular corporate colours, very bright and neon colours or metallic colours (gold, silver, bronze etc.).
Images supplied in the file should be high resolution in order that when they are printed, the images appear sharp and not fuzzy or pixelated. Using images from a website will often result in images which are not sharp. Web based images are generally saved to a resolution of 72dpi (dots per inch), where those used for print need to be at least 300dpi. Web images tend to be smaller in size and less detailed due to the need for the files to be able to be downloaded quickly to the device they are to be viewed on.
Once artwork is complete the print ready files are passed on to the prepress or premedia department for preparation and final proofing ready for printing.
Here the artwork files will be checked to ensure images are CMYK and not RGB, and they are of a high enough resolution for sharp printing. Fonts and their inclusion will be checked, as well as bleed, crop marks and printing colour bars added.
Trapping, knockout, imposition and origination will also be applied appropriately to the document ensuring allowances are made for the printing process, the paper type and any other finishing or other process occurring later in production.
A final proof will also be produced as a last check to ensure everything has been received correctly and is ready to go to print. This proof could be a PDF, a digital contract proof or even a wet proof.
Once the client has seen and approved the proof the project proceeds to production. This will mean the production of printing plates if the item is to be litho printed. If digital printing or large format printing is to be used, then no printing plates are required and the item can be sent straight to the queue of the machine the item is to be printed on.
When litho printing in full colour, a minimum of four printing plates are required. One for each of the four process colours - cyan, magenta, yellow and black. When producing these plates each will comprise a different configuration of dots, presented at specific screen angles in order to ensure the printed image reproduces correctly and accurately.
The plates, which are made of sheets of recyclable aluminium, are completely flat and have no relief to them (i.e. raised surfaces). These plates go on to be wrapped around the plate cylinder in the press for printing.
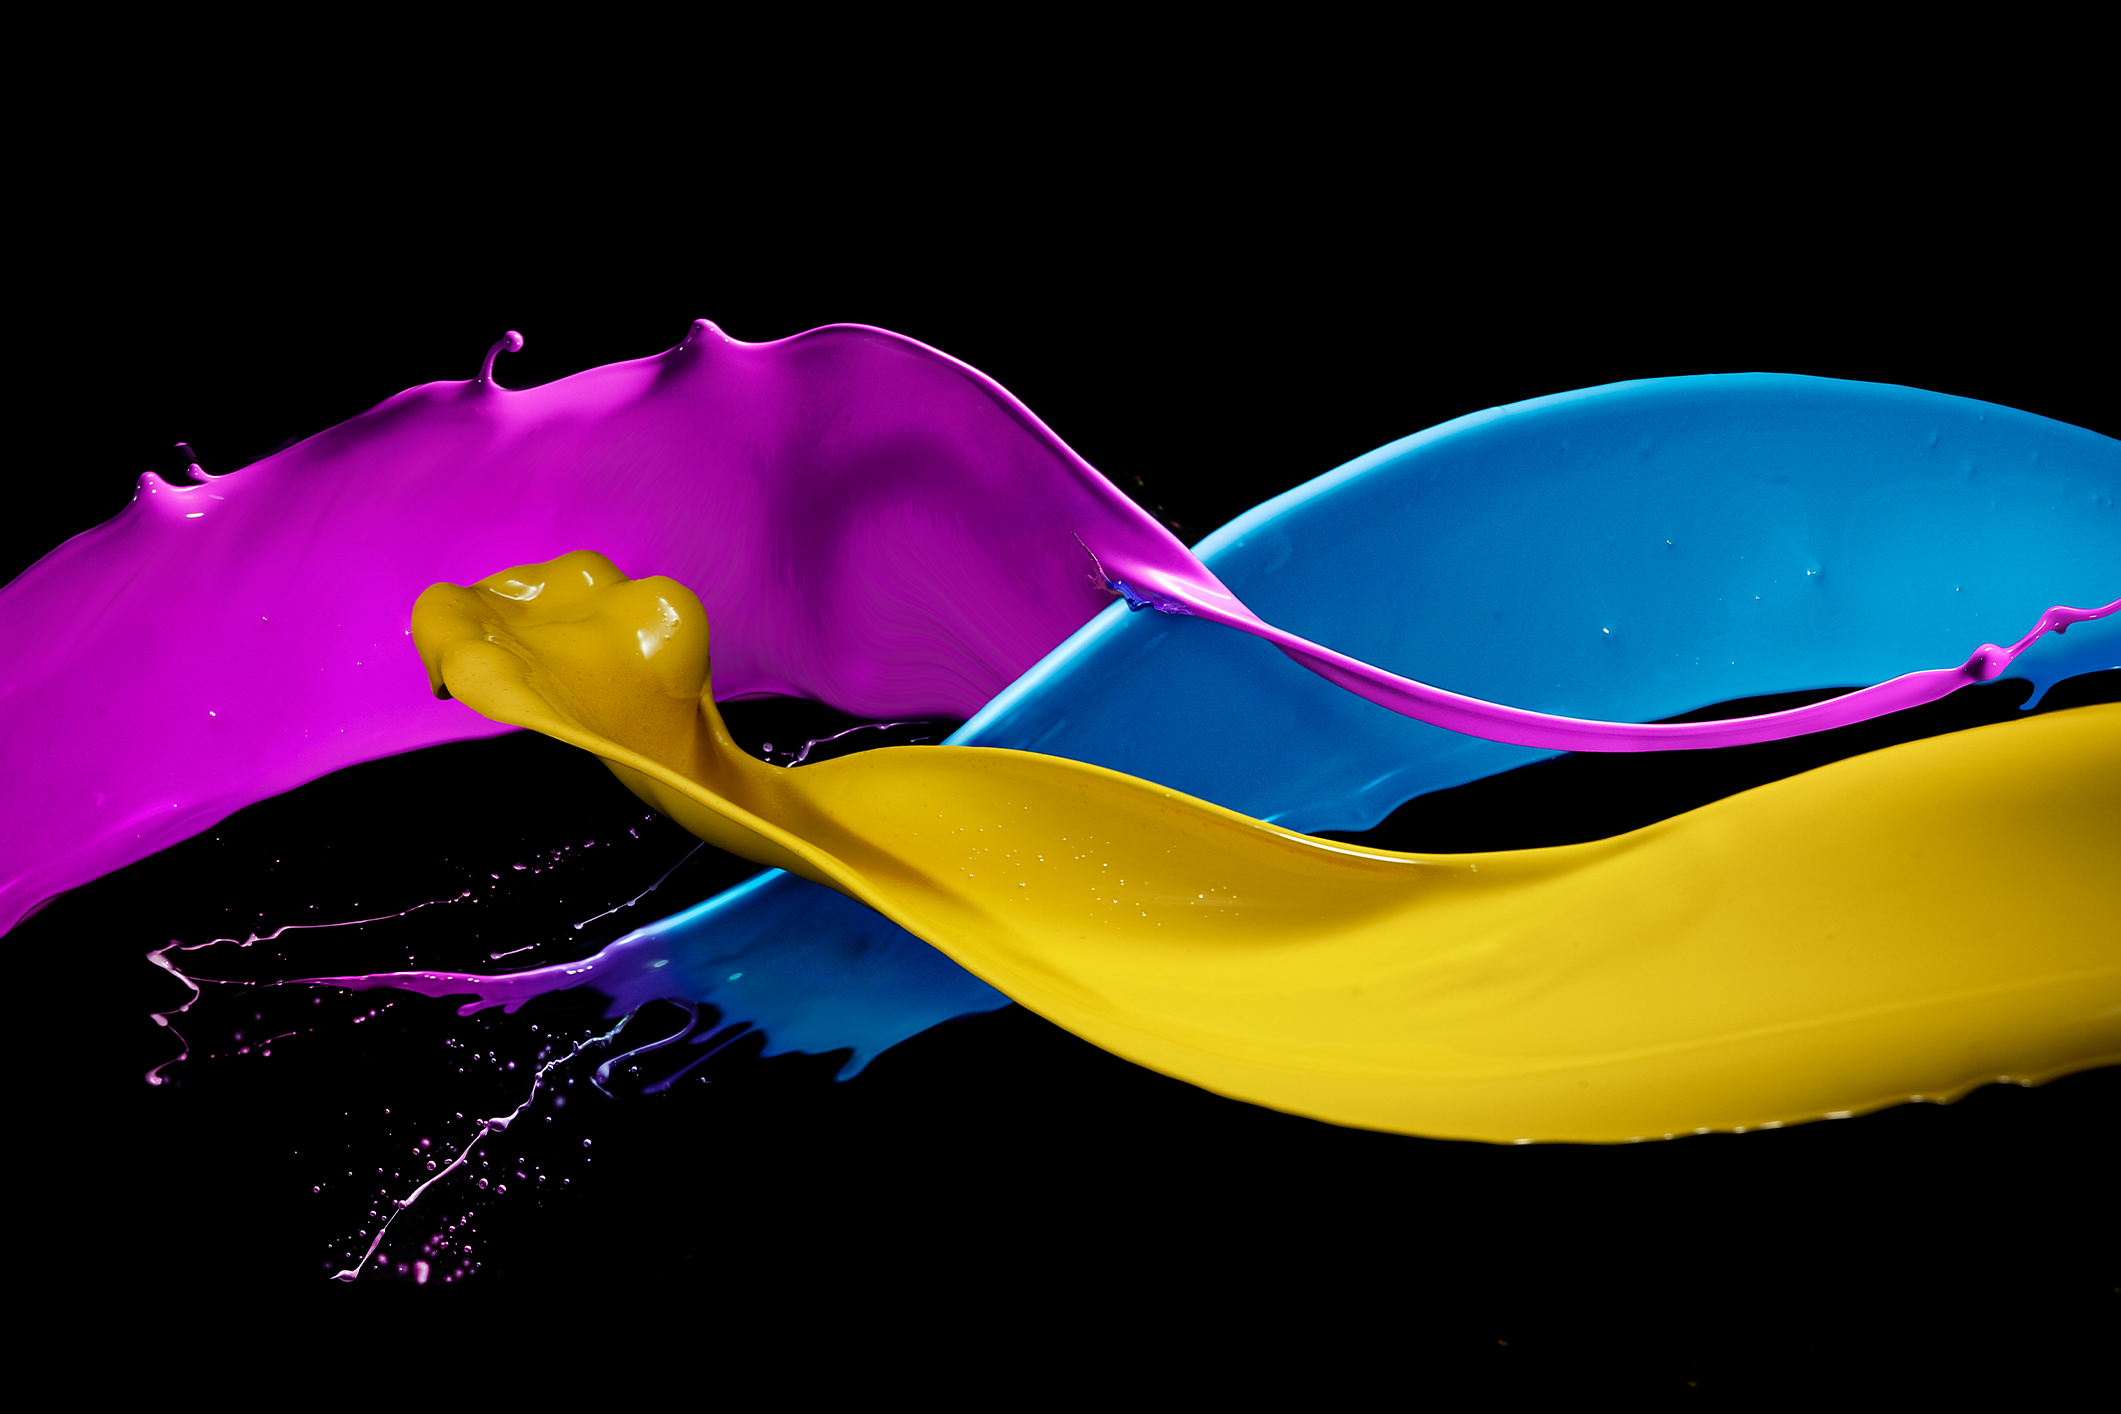
Full colour printing is actually a trick played on the brain and the eye. A full colour image is actually made up of only four colours (cyan, magenta, yellow and black). These four colours are printed in a specific dot pattern over the top of one another. Different dot sizes of each colour, half-tones, either make that colour appear stronger or lighter in appearance. When mixed with the other three process colours will make them appear as different colours to the human eye.
Today, there are numerous different printing technologies available. These include, screen printing, pad-printing, flexography, large format, gravure, offset litho and digital printing.
The offset litho printing process is the most prolific and is the process of choice for high quality items such as brochures, magazines, booklets and direct mail. The others such as screen printing and pad-printing are used for printing onto items like clothing and mugs, gravure for printing very long run publications like Sunday supplements and flexography to print onto items such as crisp packets.
Digital printing is also a major player in today's market. The quality of reproduction from these devices since their introduction around 20 years ago has come on dramatically. Today, in some instances, this means its quality can be indistinguishable from an offset litho equivalent by the untrained eye. Digital printing comes into its own when you need small run lengths of a document, quickly. They are ideal for printing on demand and also for printing totally personalised documents, like direct mail, and one offs, such as individual books.
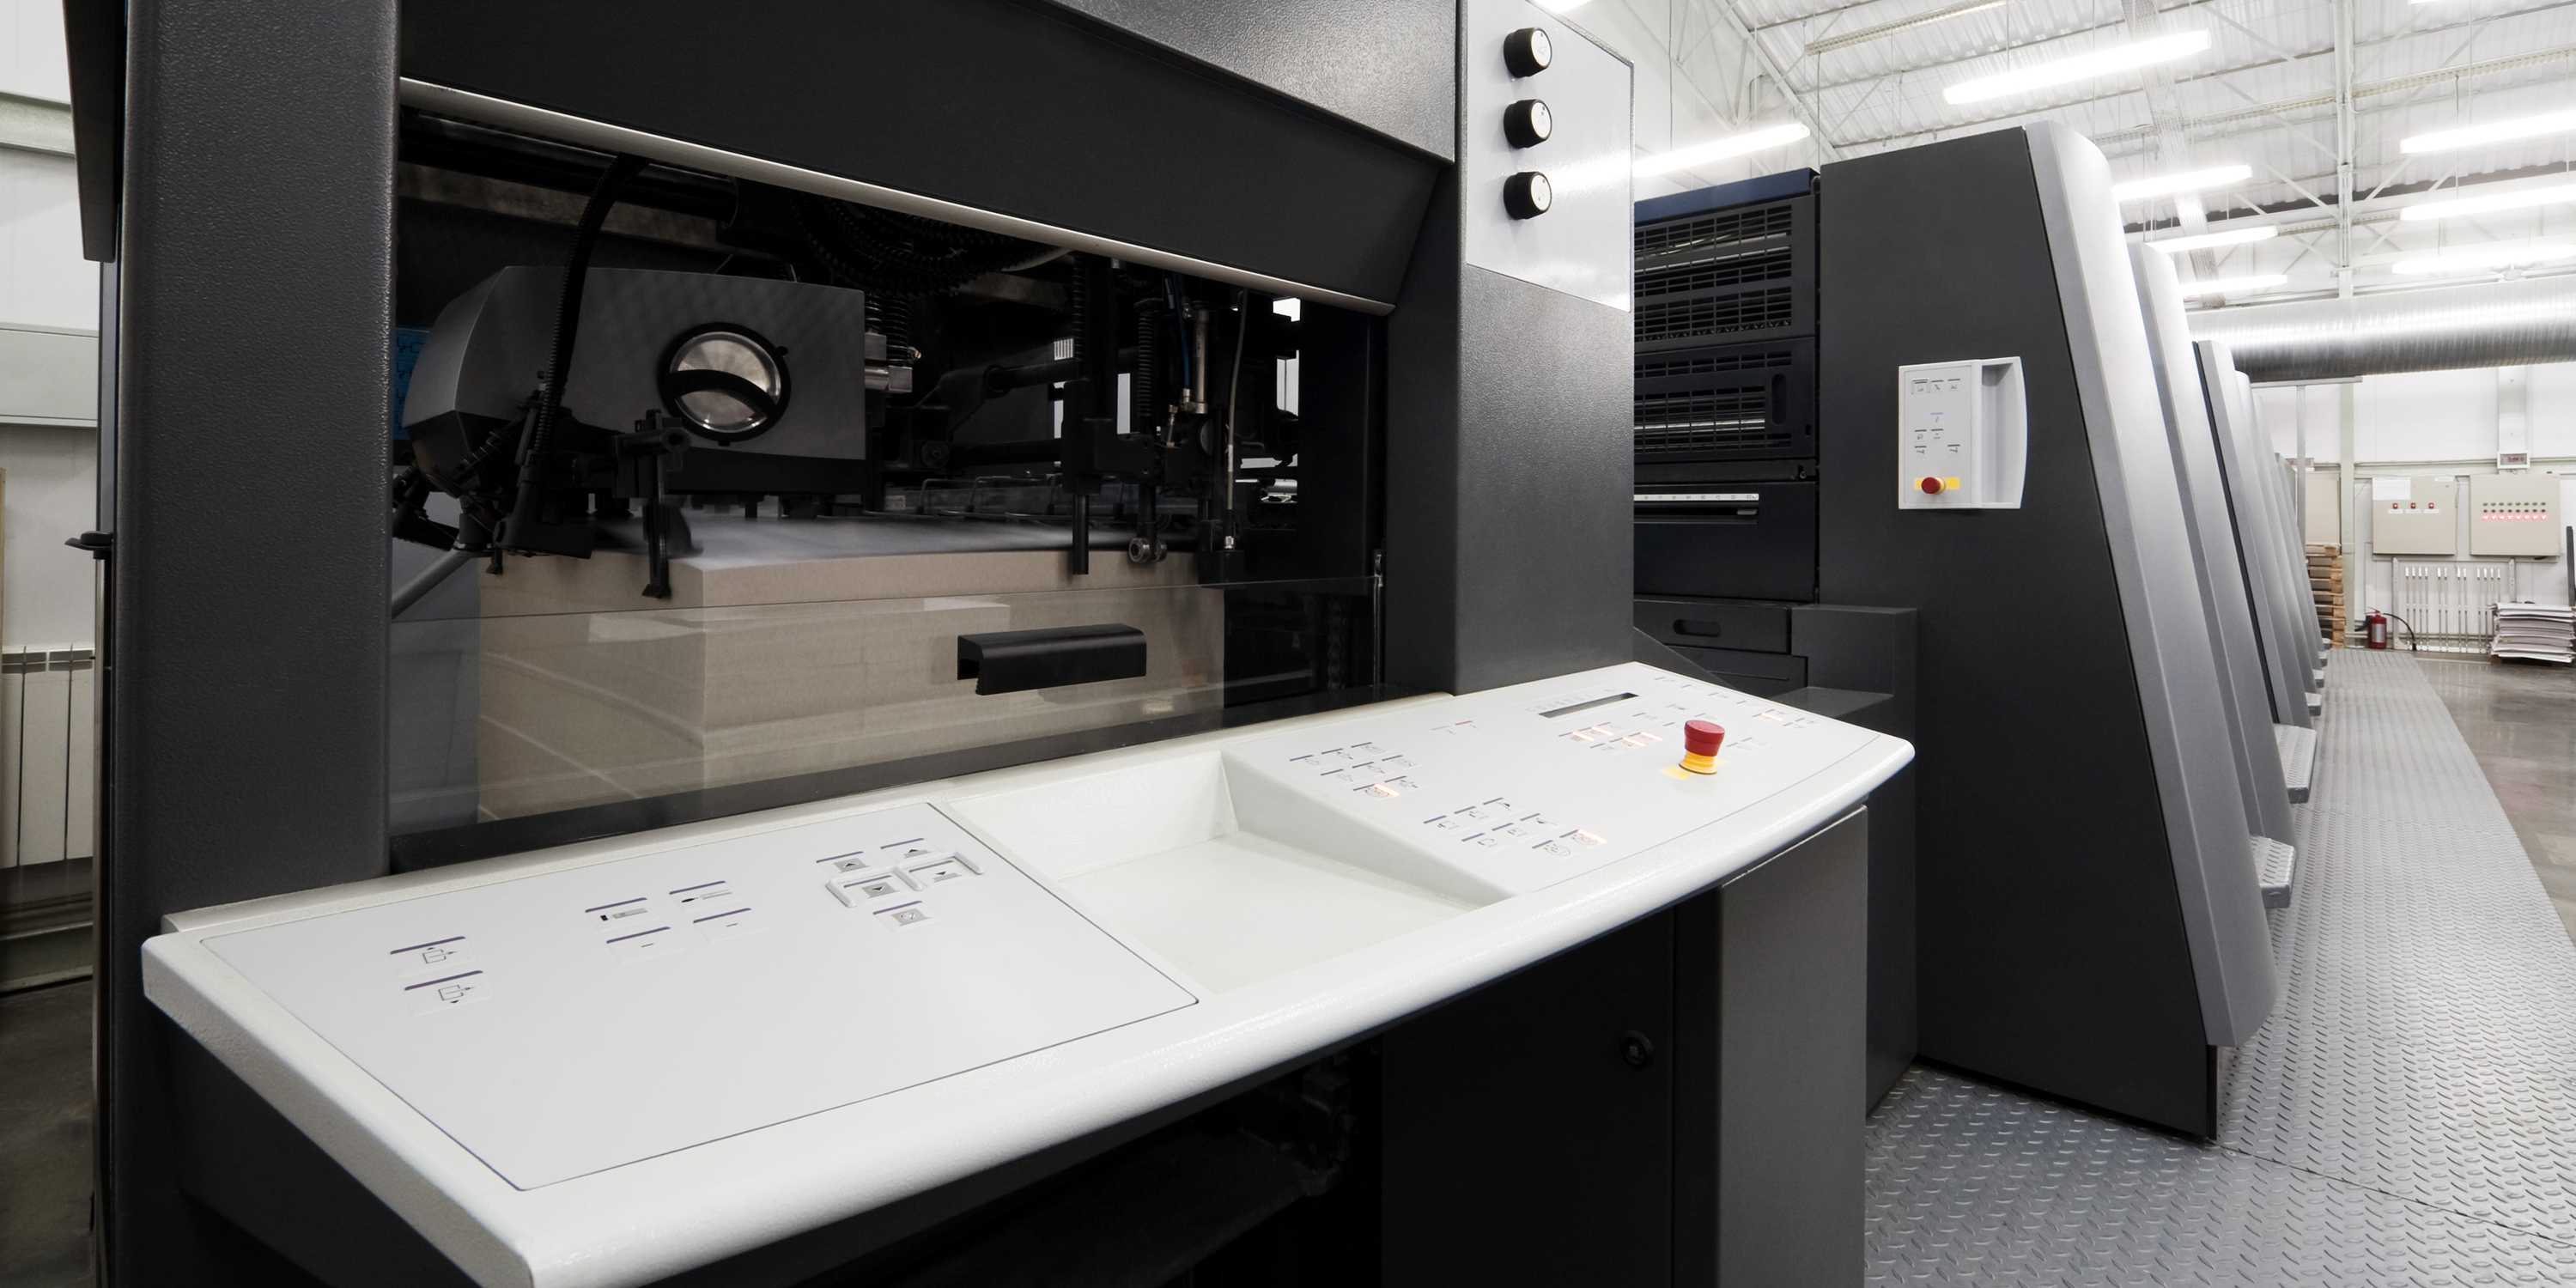
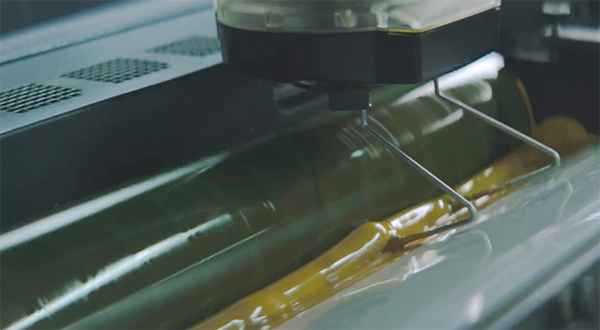
Offset litho uses printing plates clamped inside a printing press around a plate cylinder. The plate cylinder is flanked by a series of ink and damping (water) rollers. These rollers distribute ink and water onto the plate. The water acts as a carrier for the oily ink which adheres to the imaged areas on the plate. The plate cylinder rotates and offsets the inky image on to a rubber blanket cylinder which in turn offsets the image on to the sheet of paper fed through beneath it.
Large format printing is different from commercial printing. As its name suggests, it is generally used for the printing of larger items which either, won't fit as they're too big or are printed on materials which won't pass through a commercial printing press.
Large format printing is widely used for the production of point of sale (POS), banners and posters. Its flexibility and size, means one copy can be produced.
The application of this method also means items can be printed onto very thick card, corrugated board or other substrates. Ingenious cutting of these materials can be used to create eye catching POS though cardboard engineering, or even useable pieces of furniture!
Internal graphics and in store graphics (see how we helped Tesco Café in this case study) can be produced to instantly change the look and feel of a room or store, and bring it in line with a company's brand or latest promotion. These transformations can be remarkable and hugely effective at changing the mood and feel of a room.
Like all areas of printing, large format is full of its own jargon. POS (Point of Sale), FSDU (Free Standing Display Unit) and CAD (Computer Aided Design) are some of many daily used terms. For the less experienced it can feel a little overwhelming. An experienced business will be able to help and guide you through every step, making sure understand exactly what's happening all the way through and that you get the product you hoped for at the end.
There are thousands of different types of paper available. They come a whole manner of different weights and thicknesses, colours, textures and material types. They can be recycled or metallic. Coated or uncoated. Their diversity offers unique opportunity to create documents that not only look great, but have a very special and tactile feel to them too.
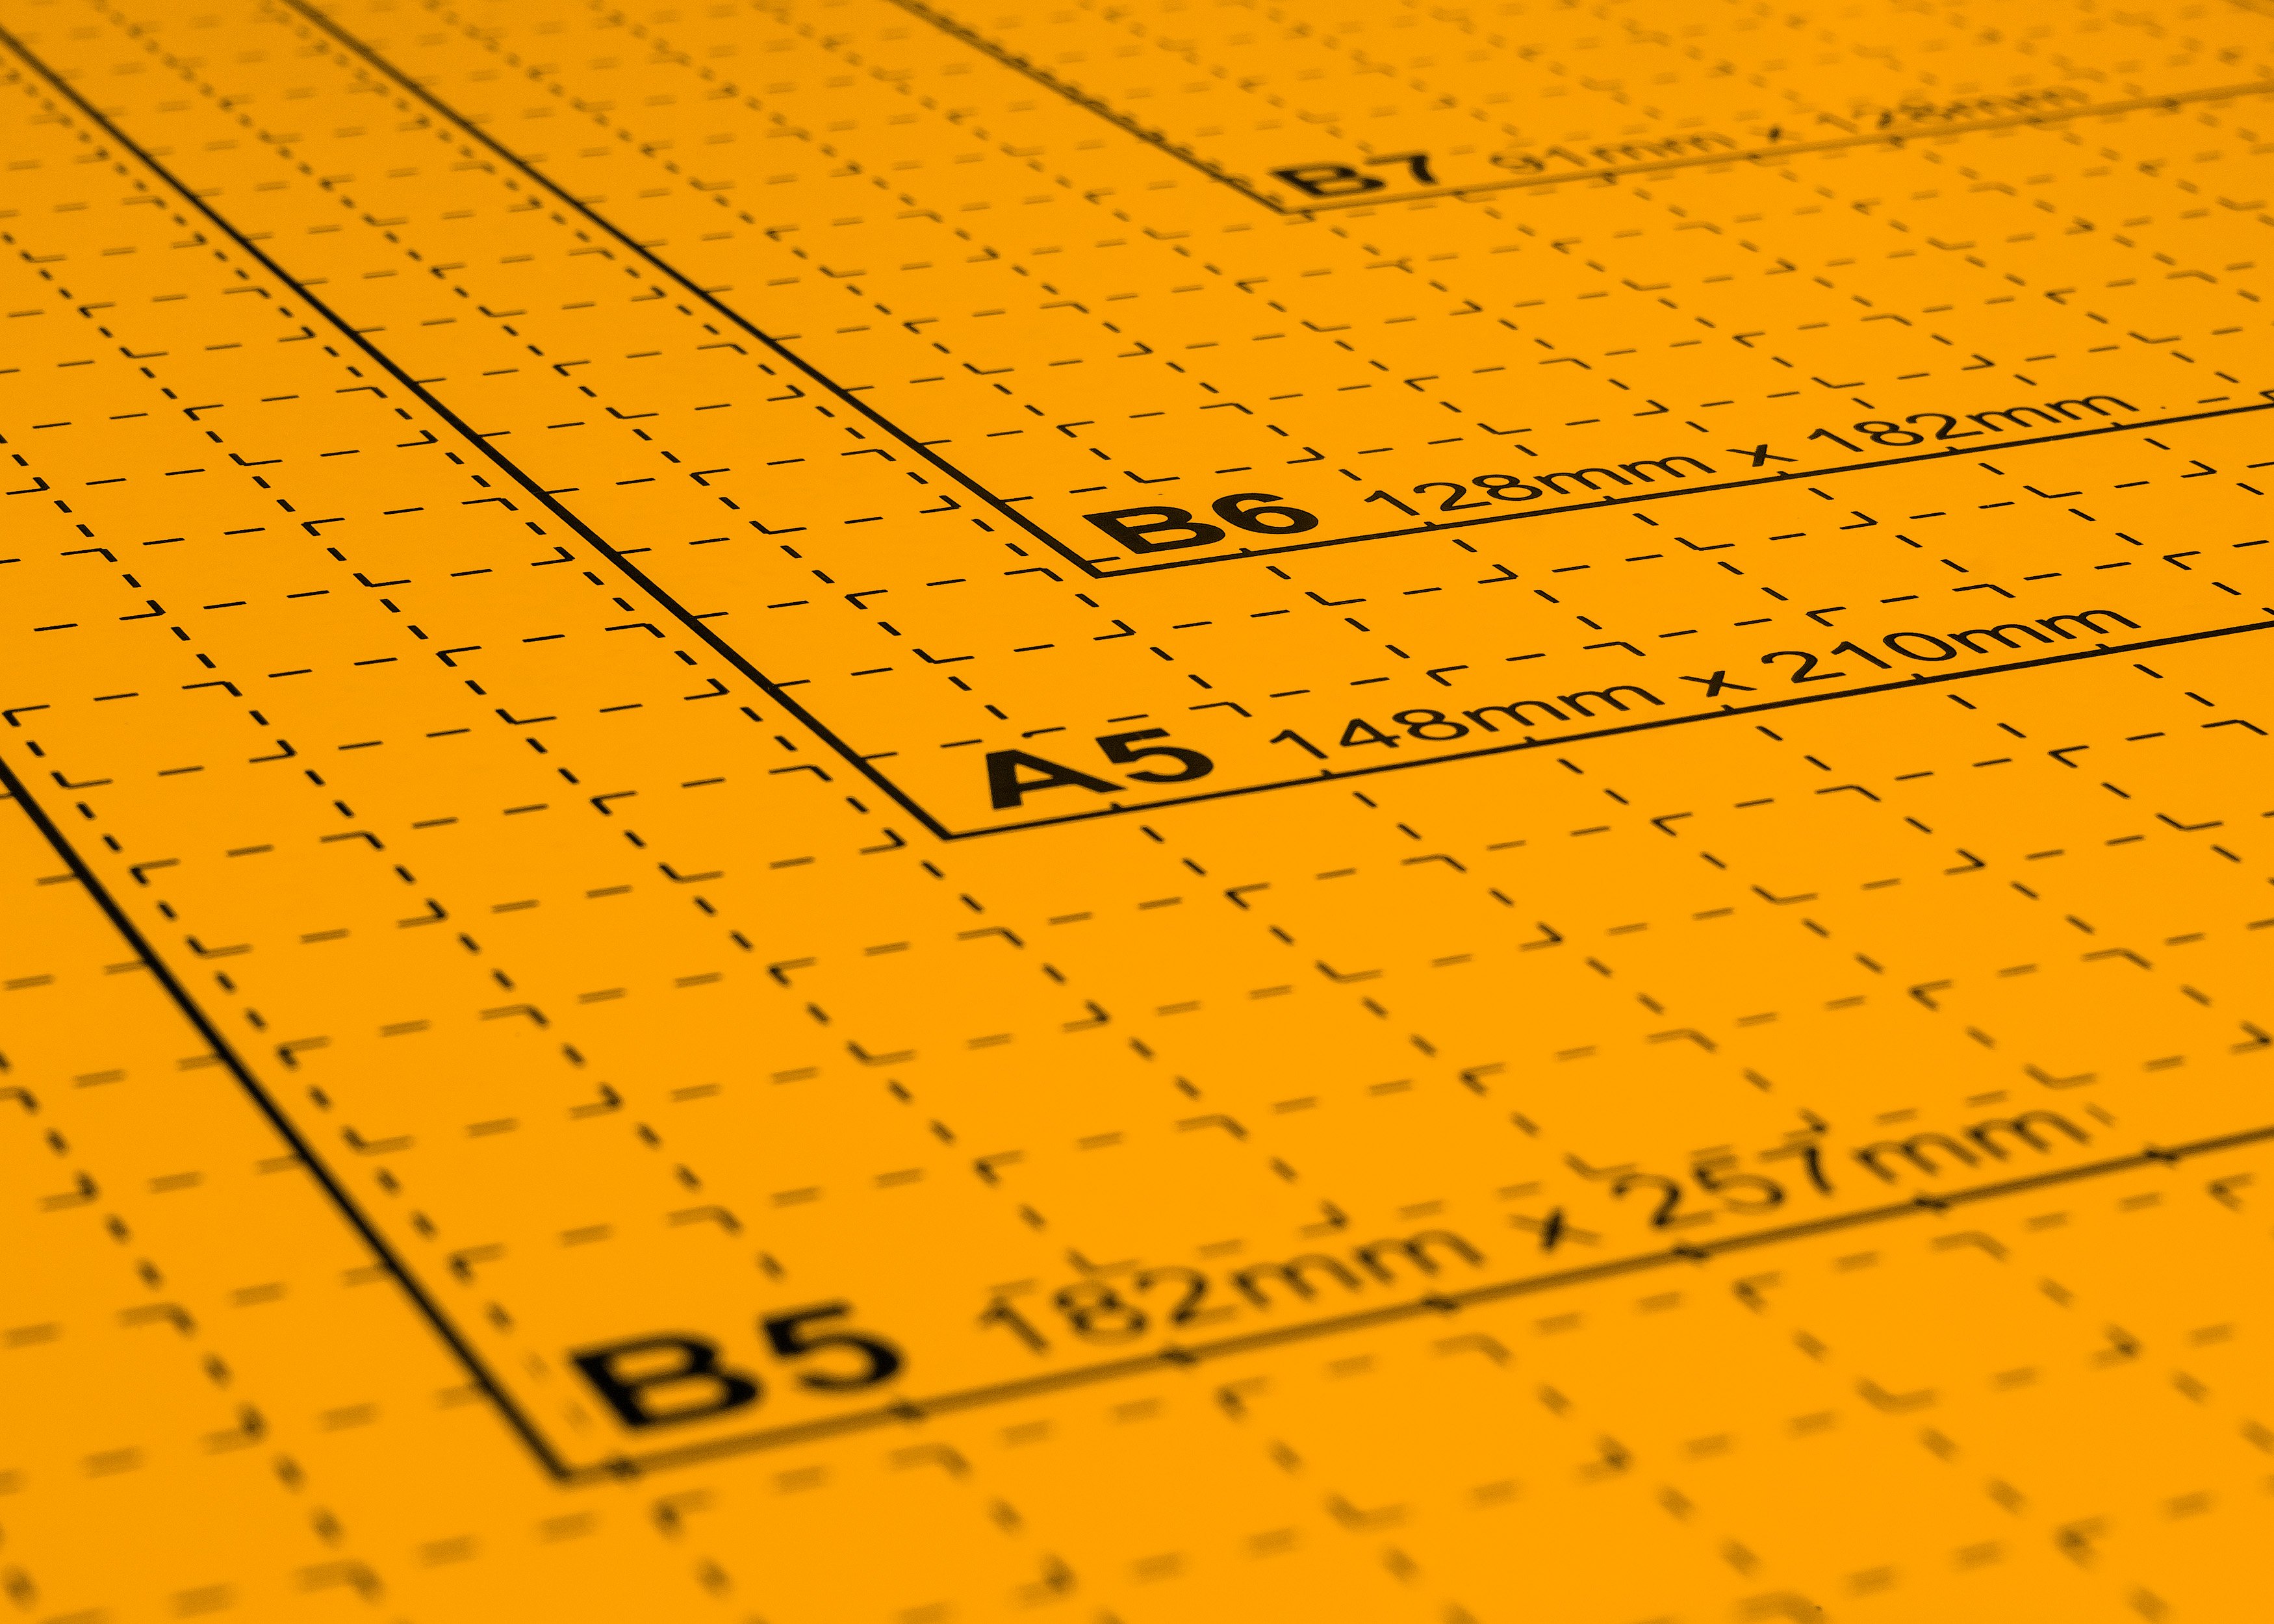
When buying paper this will mean for most people buying it in 'A' sizes, such as A4 or A3. When buying paper for use in the printing process, it is bought in an oversized format to allow for bleed, trimming and other finishing processes required post press. Furthermore, oversized sheets are purchased to enable multiple reproductions of the same page to be printed from one sheet. These decisions are made during prepress to ensure maximum efficiency to minimise waste and cost. For 'A' sized finished items SRA sized papers will tend to be used, although there are others, such as 'B' sized papers available. The paper size purchased will be based on the best and most economical way to produce a job where waste can be kept to a minimum.
Paper and board weight and thickness is measured in GSM (Grams per Square Metre) or Microns. Papers and cards tend to be specified in GSM and thicker boards in Microns.
These are the processes which occur once an item has been printed. This could include folding, binding, cutting, embossing, debossing, foiling, laminating, Spot UV, laser cutting or a wide-range of other finishing activities.
A printed product is described, when finished, as portrait (taller than it is wide) or landscape (wider than it is tall).
How it is finished determines the number of pages the item is said to have. An A4 sheet printed on one side only is said to be an A4, 1pp (printed page), whereas if the same item was printed on both sides it would be 2pp. If that item were then folded in half it would become 4pp. There are numerous folding descriptors including gate-fold, concertina and roll folds.
Binding is another big consideration. The type of binding used will depend on the number of pages, what the document is to be used for and the look you are after for your documents. Where page numbers are relatively small, saddle stitching is the most common binding method. Saddle stitching uses wire stitches (think staple) put through the spine at the fold. Other common methods include perfect binding and thread sewing. These methods are distinguishable by their square spines and use glue or a sewing method to secure the pages in the document.
Special finishes add a unique look and feel to documents. Gold or silver foiling adds a sparkle and exclusivity to documents. Lamination a layer of protection or tactility to items. And debossing or embossing a satisfying and subtle raised or recessed surface.
Finishes today include the digital application of gloss surfaces, in any design you like, to the surface of documents. This is a process we call BCQ Touch and can be totally unique and/or personalised for each document being produced. Laser cutting also allows hugely unique and fine cutting of your items to create something truly one of a kind.
The environment, waste and recycling are a hugely important topics for BCQ and our business. You can see some of what we do here.
Paper is unfairly given a bad wrap. But it really shouldn't. It is completely recyclable and all paper is now recycled, contains recycled material or comes from a sustainable source. Our friends at Two Sides are working hard to promote the sustainability of paper.
It is important that we all recycle everything we possibly can. At BCQ all our production and office waste is segregated and recycled.
If you would like to know more about the printing process or have a print requirement you'd like help with, don't hesitate to contact us. We'd love to help.